This post contains affiliate links. If you choose to buy or book through them, I may earn a small commission at no extra cost to you. Thank you for supporting my travel blog!
Chasing the Northern Lights in Iceland
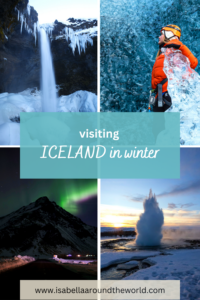
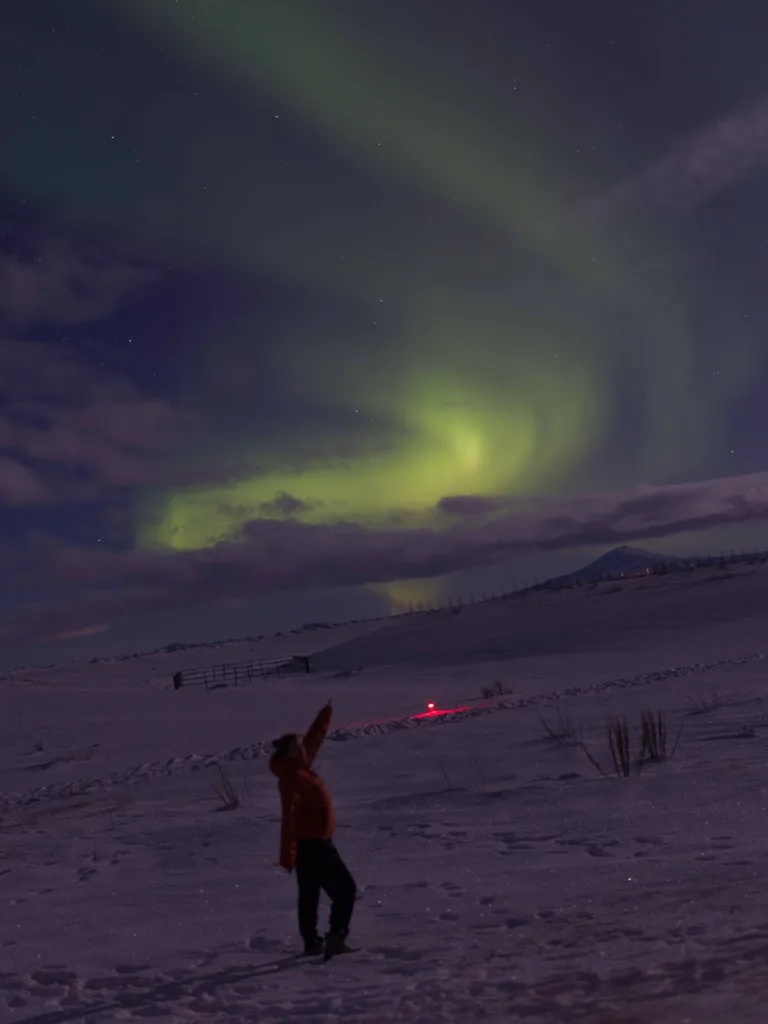
Dreaming about witnessing the magical Northern Lights in Iceland? Likely a reason for your trip to Iceland in winter are your high chances to see the Aurora Borealis at this time of the year.
In this blog post, I will share some general information, tips & tricks for chasing Northern Lights in Iceland as well as useful information such as camera settings to capture the beauty of this natural spectacle.
I have been lucky enough to witness this natural spectacle multiple times during my last trip to Iceland in mid January. I had also seen them before in Iceland, some years ago on a magical late August evening – very lucky, not very common for this time of the year!

Table of content
1. What is the Aurora Borealis?
What causes the Northern Lights?
Where and when to see the aurora?
2. Tips to chase the Northern Lights in Iceland
Check the cloud coverage forecast
Stay at a location with a little light pollution as possible
Check the aurora activity forecast
Take a Northern Lights tour
Face to the North?
3. Camera setup and settings to capture the aurora
Use a tripod
Shutterspeed/ exposure settings
Aperture settings
ISO settings
Focus settings
Video settings
1. What is the Aurora Borealis?
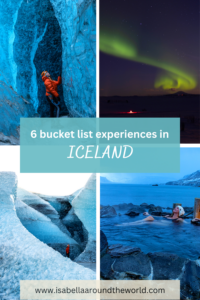
Aurora Borealis – a magical natural spectacle. The dancing lights in all green and purple shades are a bucketlist experience that everyone should experience once in their lifetime. Chasing the Northern Lights is also one of my TOP 6 bucketlist experiences to have in Iceland.
What causes the Northern Lights?
The green and purple lights we can see on a clear winter night, are caused by activity on the surface of the sun.
Solar storms produce clouds of electrically charged particles. Some of these particles eventually collide with our planet and become captured in the Earth’s magnetic field. Here an energy exchange produces the colorful lights in the sky. This is why aurora activity is is only happening near the north and south pole.
Different gases produce different colours when they are heated. The same process also takes place with the aurora.
Where and when to see the aurora?
The dancing lights can be seen near the poles of both, the Northern and Southern hemisphere.
In the South, they are called Aurora Australis or Southern Lights and in the North, Aurora Borealis or Northern Lights.
While in theory the aurora is active all year round, in the Northern hemisphere it can only be seen in the winter (and eventually early spring and late fall months). Due to the spectacle midnight sun in the Northern hemisphere in summer, it is way too bright during nighttime to actually see the Northern Lights.


2. Tips for chasing the Northern Lights in Iceland
Let´dive into some tips to increase your chances to see the Northern Lights during your trip to Iceland in winter:
Check the cloud coverage forecast
While the aurora is also active on cloudy nights, you will only be able to see it on a clear night. The best website to check the cloud coverage forecast in Iceland is vedur.
I have been using this website a lot during my trip and found it to be pretty accurate most of the time. It is also a great app to check wind forecasts.
Stay at a location with as little light pollution as possible
A spot in nature in the middle of nowhere would be ideal.
Avoid cities and bigger towns. There are several amazing airbnbs in the middle of nature with no light pollution making the perfect place to stay to see the Northern Lights.
In Iceland there are even some glass cabin and bubble options, so you have the chance to witness the Northern Lights from the comfort of your bed. For example The Panorama Glass Lodge and The 5 Million Stars Hotel.
I have stayed at Hotel Ranga in South Iceland that is also in a great location to spot the Northern Lights with little light pollution. This hotel also offers Northern Lights wake-up calls!!, outdoor hot tubs and a star observatory.
Yep, you heard that right, they give you a wake-up call when the Northern lights are spotted, so you make sure you´re not sleeping like a baby while the action happens outside. They also swtich off all the hotel lights once the aurora is visible, to maximize the magic of this experience for hotel guests. Pretty cool place, If you ask me and well worth a stay!
Check the aurora activity forecast, but don´t rely on it too much!
I use the free version of the “Aurora Forecast” app and also check the forecast on: https://www.swpc.noaa.gov/products/aurora-30-minute-forecast
Even if the activity forecast on these apps and website is low, you still have a good chance to see the aurora.
The night that I saw them the strongest, all over the sky, dancing above my head with all shades of green and purple, the forecast was actually super low.
So even if the forecast does not look promising but it´s a clear night, get out there and be patient!
Take a Northern Lights tour
While I did not personally do one, you might increase your chances of seeing the aurora when going on a tour with an experienced guide that knows certain hot spot in the area.
There are many options in different areas in Iceland, make sure to check and compare before booking one. Of course it is also not guaranteed to see Northern Lights on these tours.
Face to the North
Northern Lights appear in the North – surprise, surprise.
And especially on nights with low activity, you have much better cards to see them, if you are facing North.
Last but not least: Be prepared for cold weather. Usually nights with lower temperatures are better for Northern Lights.
It can get reallyyyy cold and windy, so put on many layers of clothes. However, once you see the aurora dancing above your head, you will forget about the temperatures – I promise!


3. Camera setup and settings to capture the aurora
Now that we have increased your chances to see the Northern Lights to the maximum, let´s talk camera settings to make sure you take some amazing pictures & videos home from this trip!
While newer Smartphones take quite OK pictures, even in low light, the quality difference compared to a semi-professional or professional camera is pretty significant.
If you are not into photography, your phone will do just fine. If you have a manual mode on your phone, you can also apply the settings below to your phone!
There are also some apps for Iphones for Manual photography, so you are able to adjust your settings manually.
Let´s go through the steps of your setup and settings:
Use a tripod!
Otherwise photos with long exposure will be shaky and blurry, especially on cameras. On phones the result will be slightly better without tripod, as the in-built stabilisation is much better.
Shutter speed/ exposure settings
8-20 seconds, depending on how strong the Northern Lights are. If the lights are very strong and bright, you can try a faster shutter speed.
Aperature settings
The lowest possible setting. 1.4 or whatever is the lowest on your camera. (my lowest is 1.8)
ISO settings
Start with 800 and adjust up or down as necessary, depending how strong the aurora is. The higher your ISO is, the grainer the picture will be.
Focus settings
Set to infinity
ISO and shutter speed settings depend on the the brightness of the aurora and also on the movement. If you have very strong and fast moving aurora, you can use a faster shutter speed and lower ISO.
Try them out and increase or decrease them as needed.
Defeinitely a bonus, if you know about the effects of decreasing or increasing each of this settings in advance.
Video/ timelapse settings
In order to take a proper video, you either need the Northern Lights to be VERY STRONG and have a solid camera or do a timelapse instead.
A timelapse will take a set amount of pictures in your preferred settings and convert all the pictures into one video. The results are amazing and turned out SO much better than all videos I took of the Northern Lights.
Settings can vary, but here is an example to try out and adjust as needed:
400 pictures in total, 1 picture taken every 3 seconds will result in a 10 second long video and it will take a total of 20 minutes to capture the timelapse. Of course, a tripod for this is absolutely mandatory!
I am excited for you to hopefully see the Northern lights soon! At least you now have a great base of knowledge about the Northern Lights, how to increase your chances of seeing them and how to capture those magic moments!

Fingers crossed for a Northern Lights sighting during your trip to Iceland in winter!
Check out more blog posts to help you plan your Iceland adventure below: